
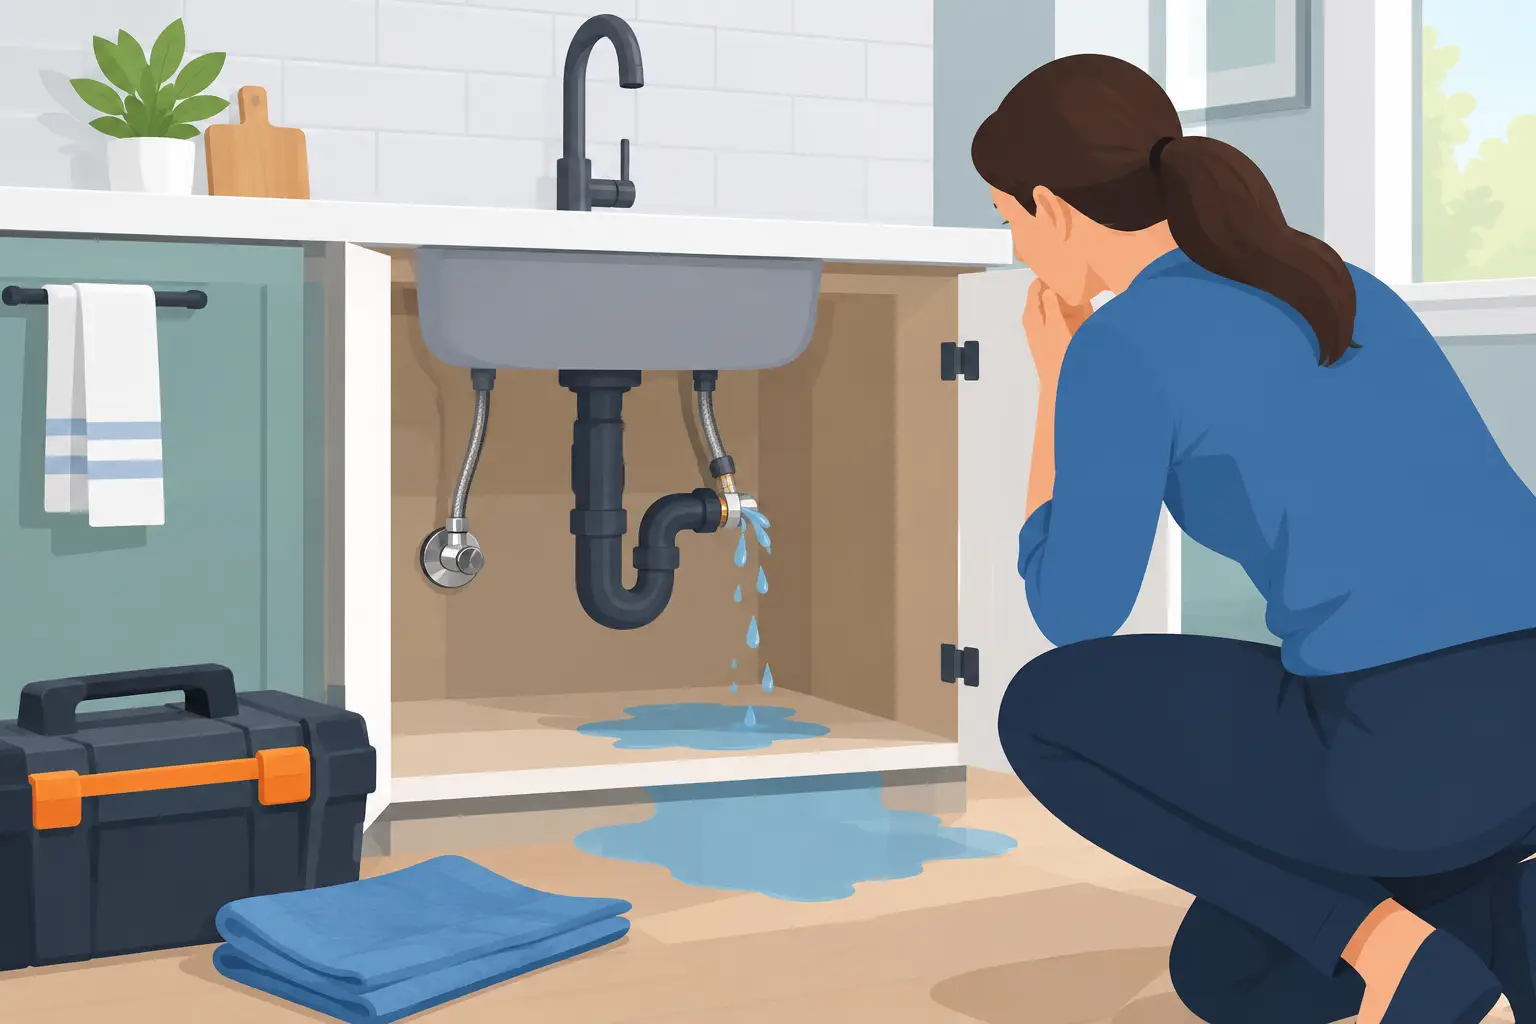
A kitchen supply line failure rarely starts with a dramatic flood. More often, a small crack, loose fitting, or worn hose leaks quietly beneath the sink until water has soaked cabinet bases, flooring, drywall, and belongings. By the time a homeowner notices the smell, warped wood, or damp floor, the damage may already extend beyond the kitchen.
When water is coming from a kitchen supply line, acting quickly can limit the repair work ahead. Shut off the water, protect the area, and bring in a trained water damage restoration team if water has reached cabinets, walls, or flooring.
Why Kitchen Supply Lines Fail
The supply lines under a kitchen sink bring pressurized water to the faucet. They are easy to overlook because they are tucked inside a cabinet, but they work every time someone uses the sink. Over time, that constant pressure can expose weak connections and aging materials.
Common causes include corroded fittings, loose compression connections, damaged shutoff valves, old rubber or plastic hoses, and supply lines that were bent or stressed during a previous repair. A dishwasher water connection or refrigerator line near the sink can create a similar problem, so the source is not always obvious at first.
A leak can also begin after a homeowner replaces a faucet, garbage disposal, or filtration system. The work may look finished on the surface, but a connection below the sink may not be fully seated. Even a slow drip can cause major moisture damage when it continues for days or weeks inside a closed cabinet.
What to Do When a Kitchen Supply Line Fails
Your first job is to stop the water. Do not wait to see whether the leak slows down on its own. If the line is actively spraying, every minute can send more water into flooring, wall cavities, and adjoining rooms.
Shut Off the Water Source
Start by closing the shutoff valves beneath the kitchen sink. Turn the valve handles clockwise until they stop. Most sinks have separate hot and cold water valves. If one valve is leaking, difficult to turn, or does not stop the flow, shut off the main water supply to the home.
After the water is off, open the faucet briefly to release pressure in the line. Avoid taking apart a failed line while water pressure is still present.
Protect People and Electrical Areas
Standing water near electrical outlets, appliances, or cords is a safety concern. Do not use electrical equipment in a wet area, and do not walk through water if you suspect it has reached an outlet or appliance connection.
Move small items, rugs, and stored belongings out of the affected area if it is safe to do so. Place aluminum foil or wood blocks beneath furniture legs near the kitchen to prevent staining and moisture transfer. Avoid dragging wet furniture across flooring, which can spread water into dry areas.
Document the Damage
Take clear photos and videos before cleanup begins. Capture the failed supply line, wet cabinet interiors, affected flooring, visible water paths, and damaged belongings. This documentation may help with an insurance claim.
Then contact your insurance carrier to report the loss and ask about your water damage coverage. Insurance decisions depend on the cause of the failure, the policy, and the extent of damage, but prompt reporting is usually wise.
Why Drying the Surface Is Not Enough
A towel, fan, or shop vacuum may remove visible water, but it cannot confirm whether moisture remains under flooring or behind cabinets. Kitchen floors often have several layers: finished flooring, underlayment, subfloor, and structural materials below. Water can move through seams and settle where it cannot be seen.
Cabinets are especially vulnerable. Particleboard and MDF cabinet bases can swell rapidly after water exposure. Once they expand, they may not return to their original shape. Water can also wick into drywall, insulation, toe kicks, and walls shared with a pantry, dining room, or basement stairwell.
This is where professional moisture detection matters. A trained restoration crew uses moisture meters and thermal imaging equipment to identify hidden wet materials. The goal is not just to make the kitchen look dry. The goal is to remove moisture from building materials before swelling, odor, mold, and structural deterioration get worse.
When to Call for Professional Water Damage Cleanup
A minor drip caught immediately may only require a plumbing repair and careful cleanup. But a kitchen supply line failure deserves professional help when water has spread beyond the sink cabinet, been leaking for an unknown period, or reached porous materials.
Call for water damage restoration if you notice soaked flooring, water under cabinets, wet drywall, buckling laminate or hardwood, a musty odor, staining on ceilings below the kitchen, or water that has entered a basement. You should also call if the supply line failed while you were away from home. Hours of uninterrupted water flow can create extensive hidden damage.
Kans Water Restoration helps homeowners in Mason and nearby communities respond to water losses with prompt extraction, moisture inspection, structural drying, and cleanup. Our trained technicians follow industry-standard water damage restoration practices to assess affected materials, remove water, and create a drying plan based on the actual conditions in your home.
What Professional Drying May Involve
The right drying approach depends on the amount of water, how long it sat, and what materials were affected. A clean-water supply line leak is different from a sewage backup, but even clean water can become a mold concern when it remains trapped in wood, drywall, or insulation.
After inspection, a restoration team may extract water from flooring and cabinet areas, remove damaged cabinet components, set professional air movers and dehumidifiers, and monitor moisture levels until materials reach acceptable drying targets. If wet drywall, insulation, or flooring cannot be dried safely, removal may be necessary to protect the rest of the structure.
There is a trade-off here. Removing materials can feel disruptive, but leaving wet materials in place can lead to a larger repair later. The right decision depends on moisture readings, material type, contamination risk, and how quickly the problem was discovered.
Watch for Mold After a Kitchen Leak
Mold does not need a dramatic flood to grow. It needs moisture, time, and a surface it can use for food. Cabinet backing, drywall paper, wood framing, and dust buildup can all support growth when a hidden leak stays damp.
Watch for a persistent musty smell, dark spotting inside cabinets, soft drywall, peeling paint, or recurring moisture near the sink. Do not assume mold is limited to the spot you can see. If water traveled into a wall or beneath the floor, the affected area may be larger than the visible stain.
Quick, complete drying is the best first defense. When mold growth is already present, trained remediation helps contain the affected area and address moisture conditions that allowed it to develop.
Preventing Another Supply Line Problem
Check beneath your kitchen sink several times each year, especially after plumbing work. Look for corrosion around valves, dampness on supply lines, rusted fittings, cabinet swelling, and small puddles. Run your hand along the outside of the lines only after confirming there are no electrical concerns.
Replace old or visibly worn supply lines rather than waiting for a failure. Have a qualified plumber inspect shutoff valves that are seized, corroded, or difficult to operate. Keep the cabinet under the sink reasonably clear so a leak is easier to spot and the shutoff valves remain accessible.
A failed kitchen supply line can turn an ordinary day into a stressful cleanup fast. Stop the water, do not trust surface drying alone, and get experienced help before hidden moisture turns a manageable leak into a larger restoration project.

